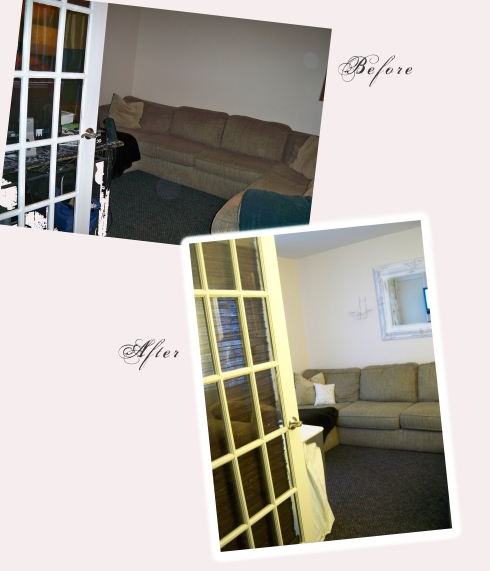
I am finally finished with my “$200 or less makeover challenge”, Yippee!!! It took a lot longer than I thought, but I am pleased with the results. You’ll be happy to know that the $200 I gave myself to spend was quite more than enough. See below for my breakdown of cost, but for now check out my “before and afters”.
The first thing I wanted to do was make a plan for the wall decor. I took a mirror I have had since college (it was gold with crackle paint) and painted it white. Then I took sandpaper and lightly distressed it. I did the same with some Ikea candle sconces I had lying around.
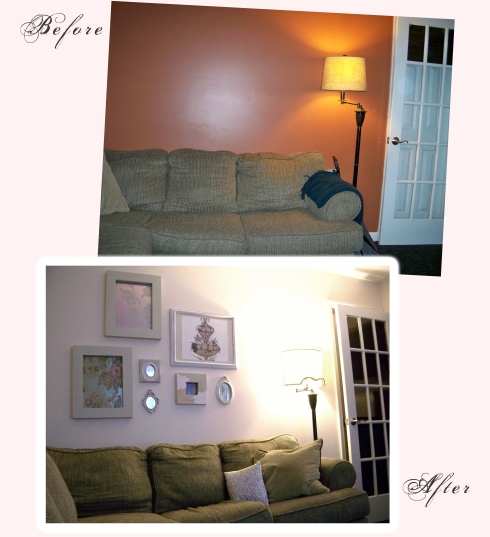
Then I just had to try out this new “studio style” trend. This means to hang your art at different levels (kind of a collage of art that has grown as you hang your masterpieces, as you would do in an art studio). I took wallpaper samples I had from discontinued wallpaper books and framed them with frames I already had. I especially love the fruit topiary wallpaper. It looks so french! I cut out a metallic damask pattern and pasted it to the corners of the small square frame and placed stripes of fabric inside. The mirrors I found at a yard sale for $1.00 for all three. I drew a sketch of the hanging plan before I went hammering holes in the wall. However, this was still the easiest hanging job I have ever done, because nothing had to be level. I love “studio style”. I posted previously about my lovely “french chicken wire lampshade”. I bought it at work for $29.00.
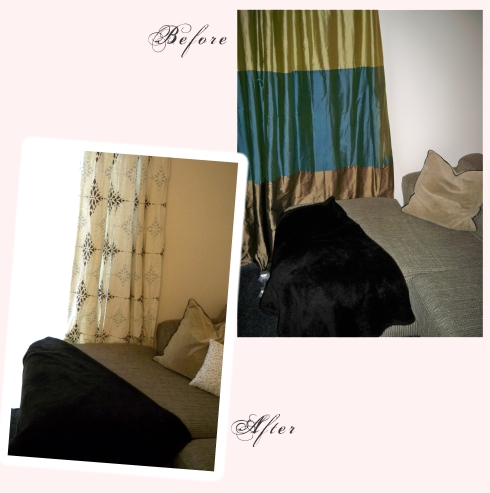
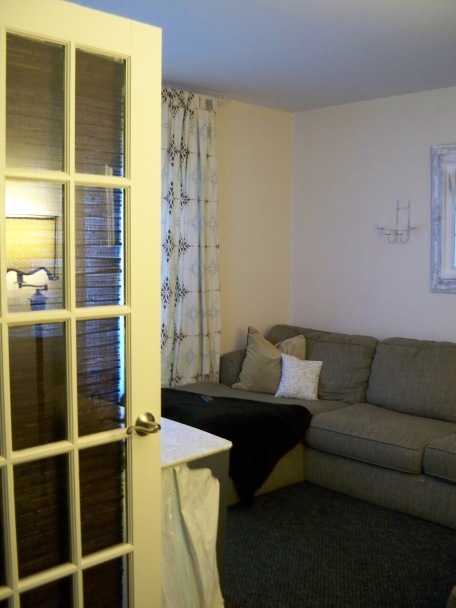
Then came the all important window treatments. As you can see above, the old silk panels were fading and to dark. This room has a full sliding glass door, so the window treatments needed to be light and blend. Changing the window treatments from a dark, bold color, to a soft, subtle linen made all the difference!!
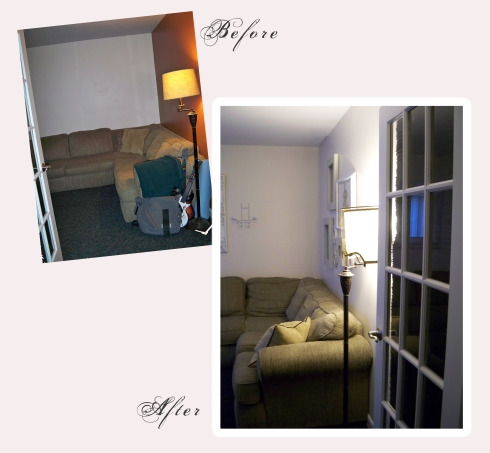
This orange wall was the bane of my existence! I hated it sooo much. I matched the soft linen color of the other wall and just painted the one wall. I spent $24.00 on paint and supplies. The walls being all one color and light made the room feel twice as big.
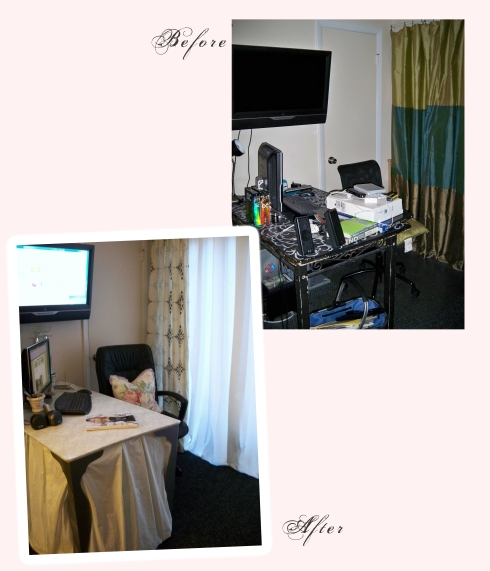
Then it was on to the clean up of this mess I called a desk. How I was ever inspired, I will never know. First I dealt with the UGLY table. I bought 4 legs at Ikea at $10.00 each. Then I wallpapered the top with a lovely “tone on tone” art nouveau pattern wallpaper I had leftover from a display at work. I made a skirt (to cover the unsightly cords) with a luxurious silk. I pleated it with a staple gun underneath the table and then attached a pretty blue polka-dot ribbon in each pleat with Velcro for contrast. Now I actually like sitting at my desk!
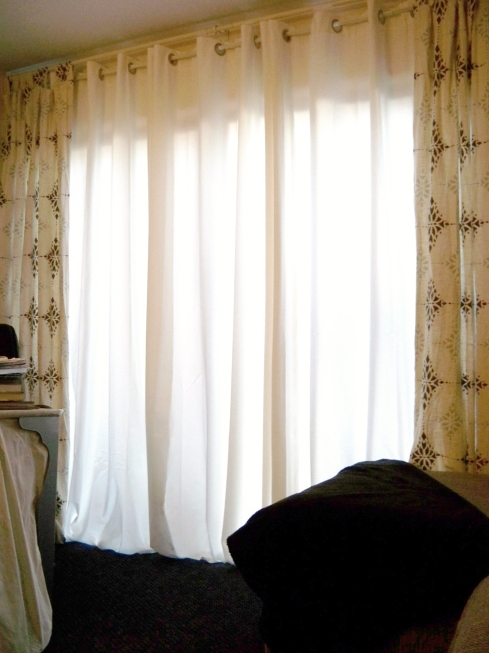
As you see, I covered the entire door with white grommet panels I had previously. I moved the rod as close as I could to the ceiling to add height to the room. I love the window treatments, and they are all from Ikea!! The white lets so much light in the room. It no longer feels like a cave.
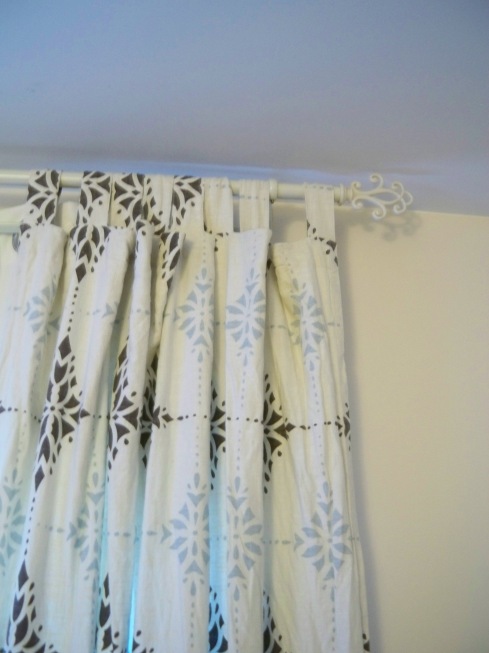
I bought the rod at “Ross dress for less”. Yup, and for only $15.oo!
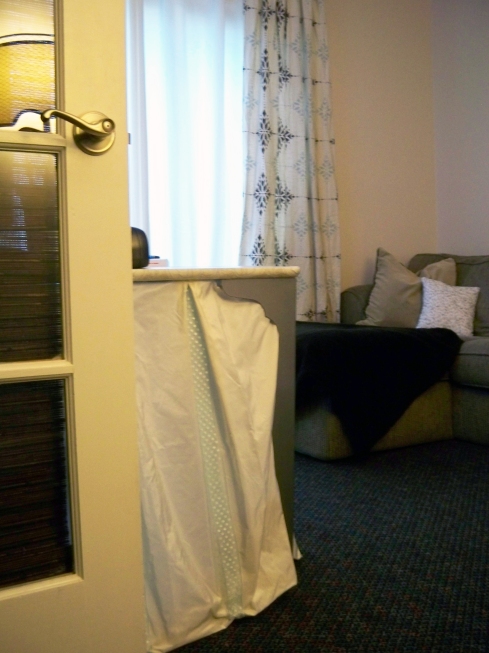
Here is a better picture of the desk skirt.
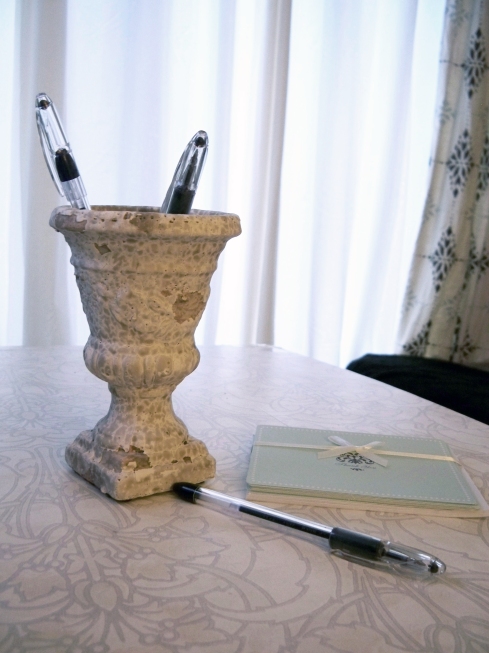
I picked up a couple of urns for $10.00 each.
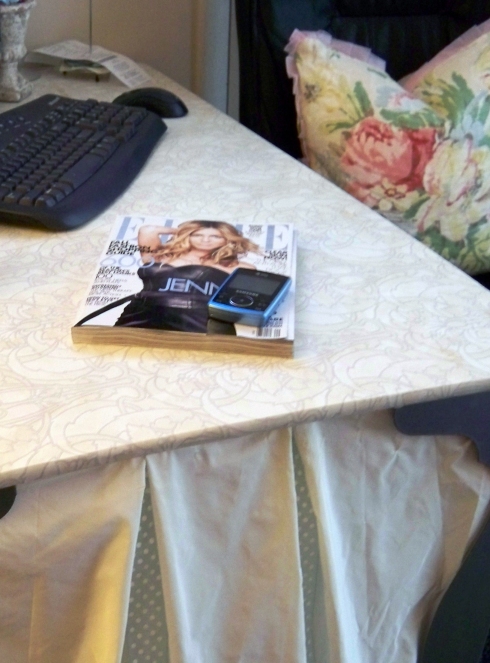
See the cute blue polka-dot ribbon, isn’t it cute. I love the wallpaper on the desk top. It blends to nicely.
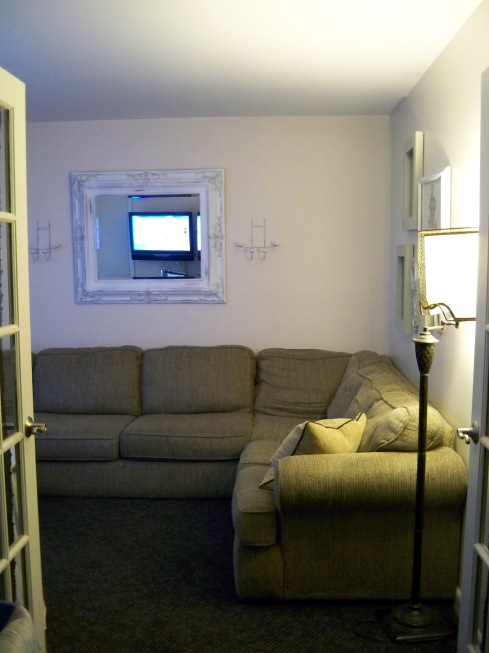
I know the carpet is an issue. I am working on it though. I have one philosophy I have learned to follow. Never buy just because it is a deal, only buy if you love it. I haven’t found a rug I love yet, so I haven’t bought one.
So here is the cost breakdown.
Paint and supplies $24.00
Table legs $40.00
Curtain rod $15.00
Lampshade $29.00
Mirrors $1.00
Desk accessories $20.00
Total- $129.00
Wow, I have money leftover!! I think I will spend the remainder on some perfectly soft robin’s egg blue candles for my sconces (I don’t have any because I am being picky about the color), and some lovely flowers for my desk. Oh, and some Starbucks to give me energy after this project. So I hope this inspires you to do a little brainstorming to figure out how you can transform a room by moving things around in your home and finding great deals that really are out there. It does take time, but it is so worth it.

 !
! *
* *
* *
* *
*


the room looks terrific! I really like the artwork on the walls, and the wall color. thanks for sharing.
Lovely improvements — the new look is lighter and more cheerful — an effective facelift for a small price 🙂
It looks SO much better! The window treatments and the desk skirt are gorgeous!